We know that Adobe Lightroom can be overwhelming especially if you are a beginner. Adobe Lightroom is, after all, a powerful photo editing software. But do not let that stop you: it can help you get the specific look that you want, or fix the photos that you want to save. You can even get the look that you want – easily – using Lightroom presets. It is as simple as selecting the look that you want and applying it to your photos. This is also a great way to learn photo editing!
If you are a professional photographer, then you know how Lightroom presets can make editing easier and faster, especially if you are processing in bulk. The best thing is, presets can also help you explore different styles without spending too much time on every panel.
We’ll show you how to add presets to Lightroom on mobile and desktop. You will quickly learn how to use Lightroom presets in this step-by-step guide. Begin by selecting your Lightroom version below.
Select Your Lightroom
LIGHTROOM MOBILE
LIGHTROOM DESKTOP
How to Use Presets on Lightroom Mobile
First, you need Adobe Lightroom. Make sure you have the free Lightroom mobile app for your phone. You can get them from these links:
Download Adobe Lightroom Mobile for Android
Download Adobe Lightroom Mobile for iPhone (iOS)
How to Install Lightroom Presets on iPhone
Now that you have the Lightroom mobile app on your iPhone, here’s the easiest way you can add the preset. You can also download and import the DNG file as you would any other image, but this is the method we recommend:
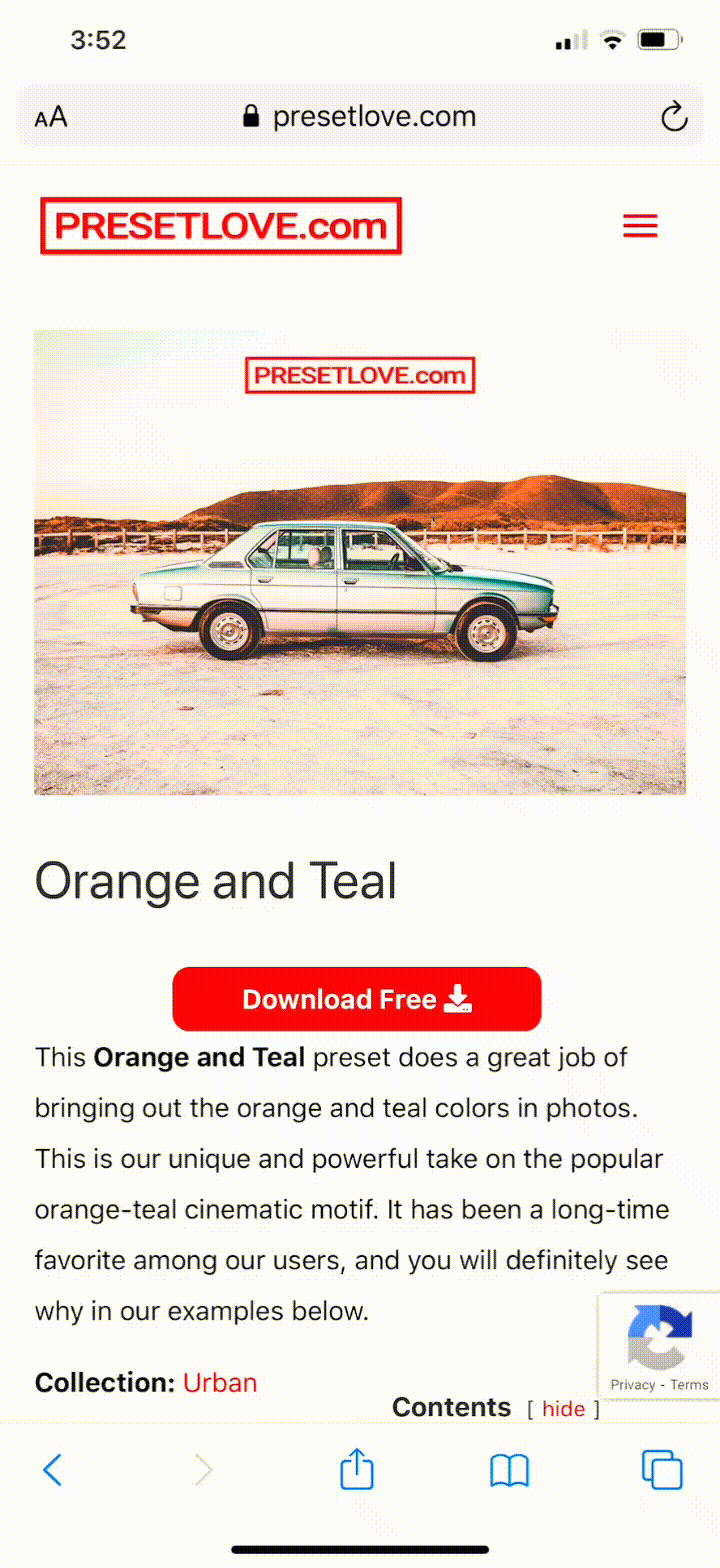
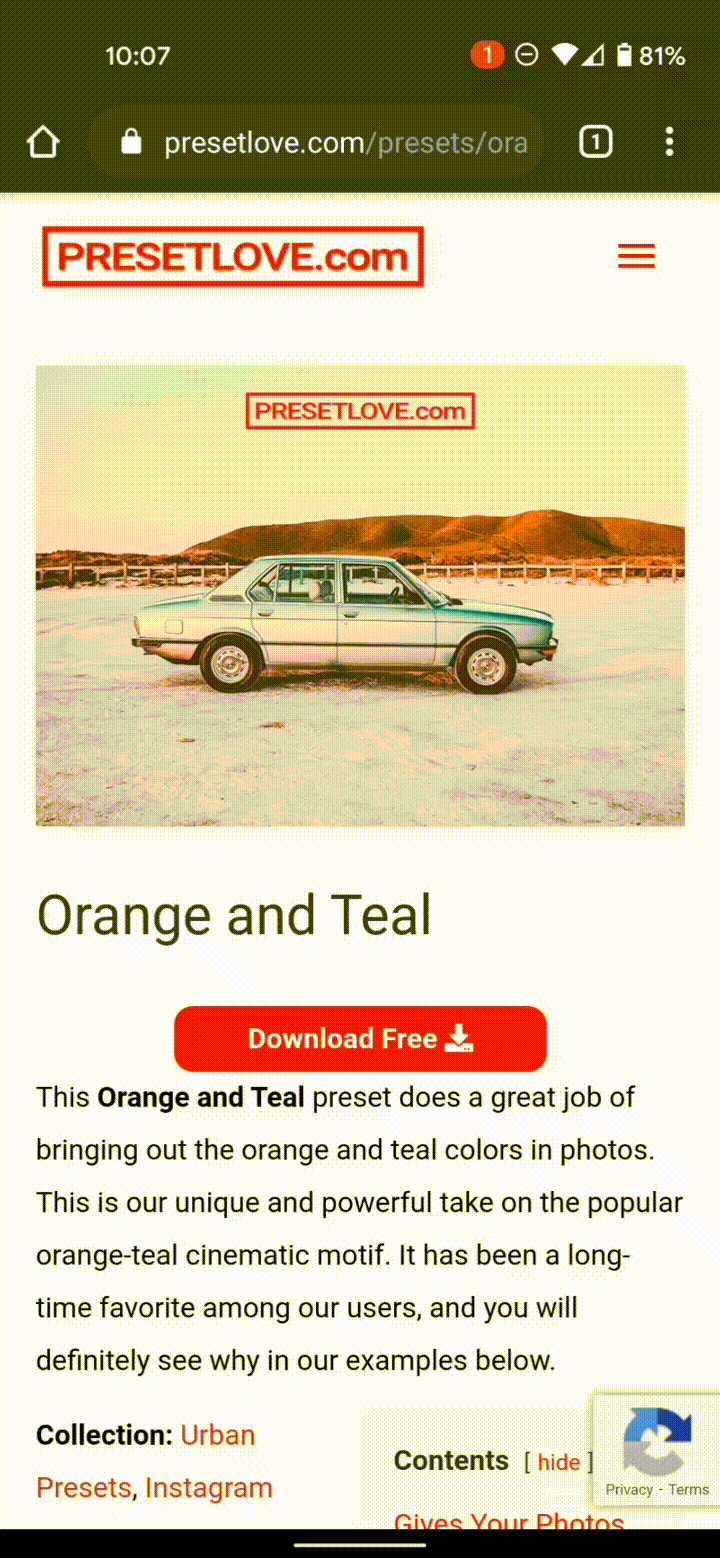
- Select a Mobile Preset. Go ahead and download one of our Lightroom mobile presets. Once at the preset page, click the Download button and enter your primary email address. We will send the preset to your email.
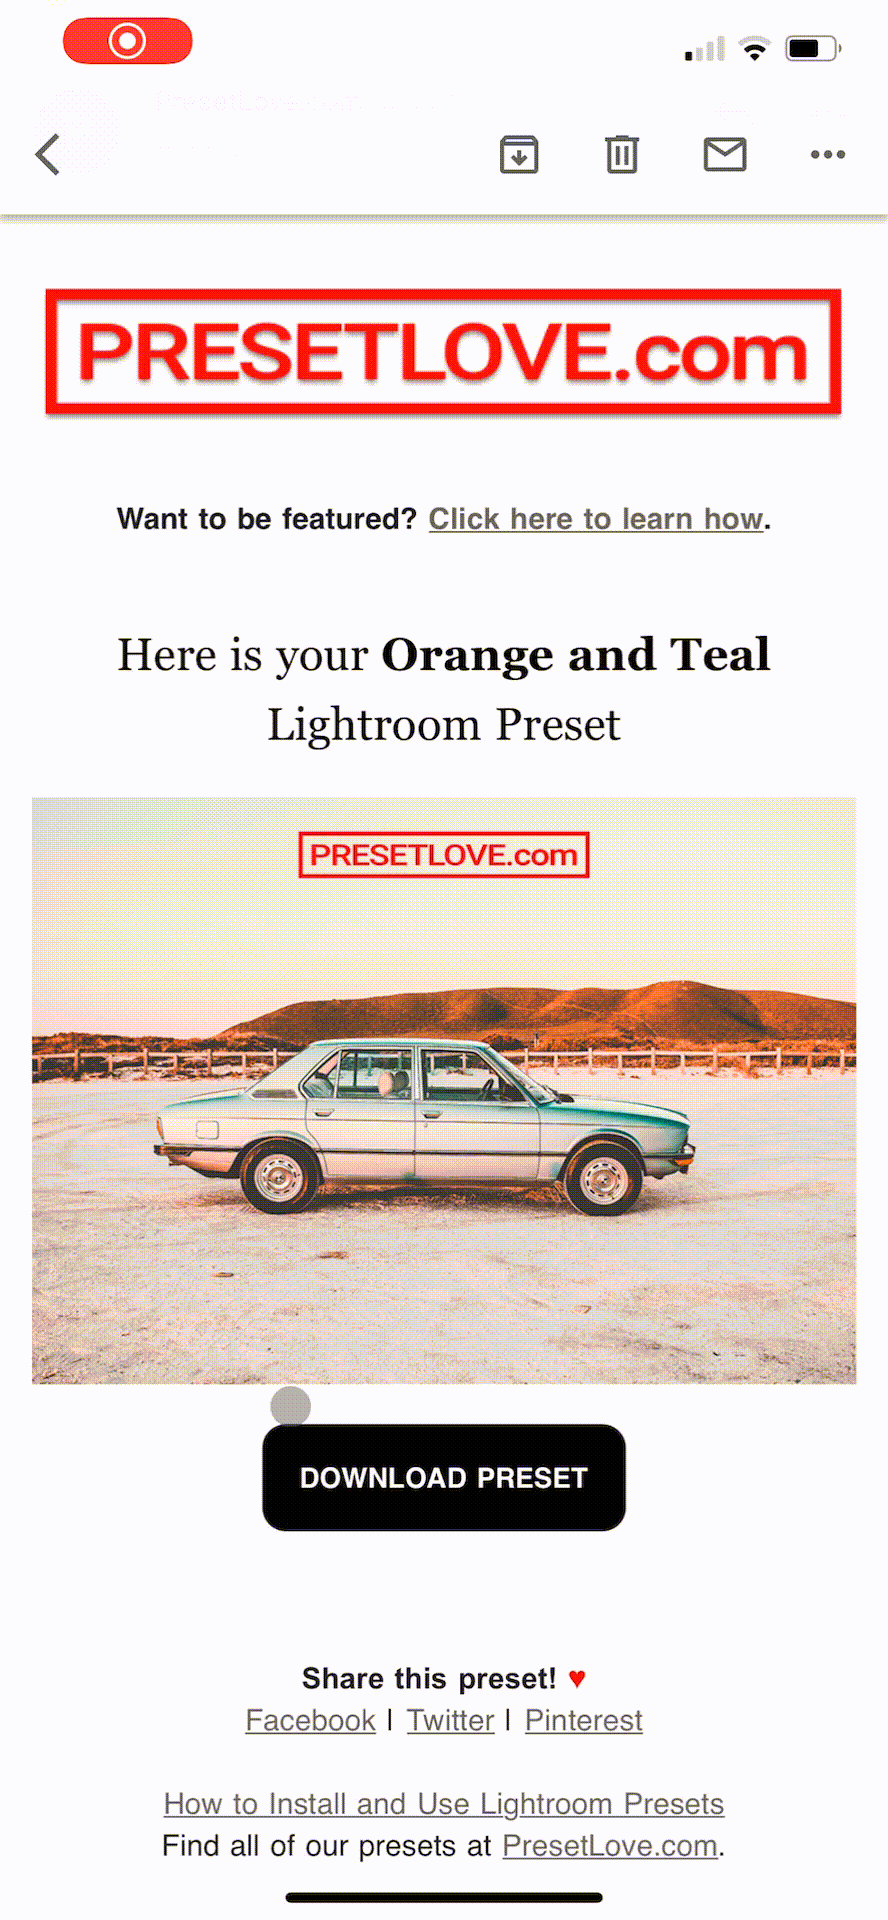
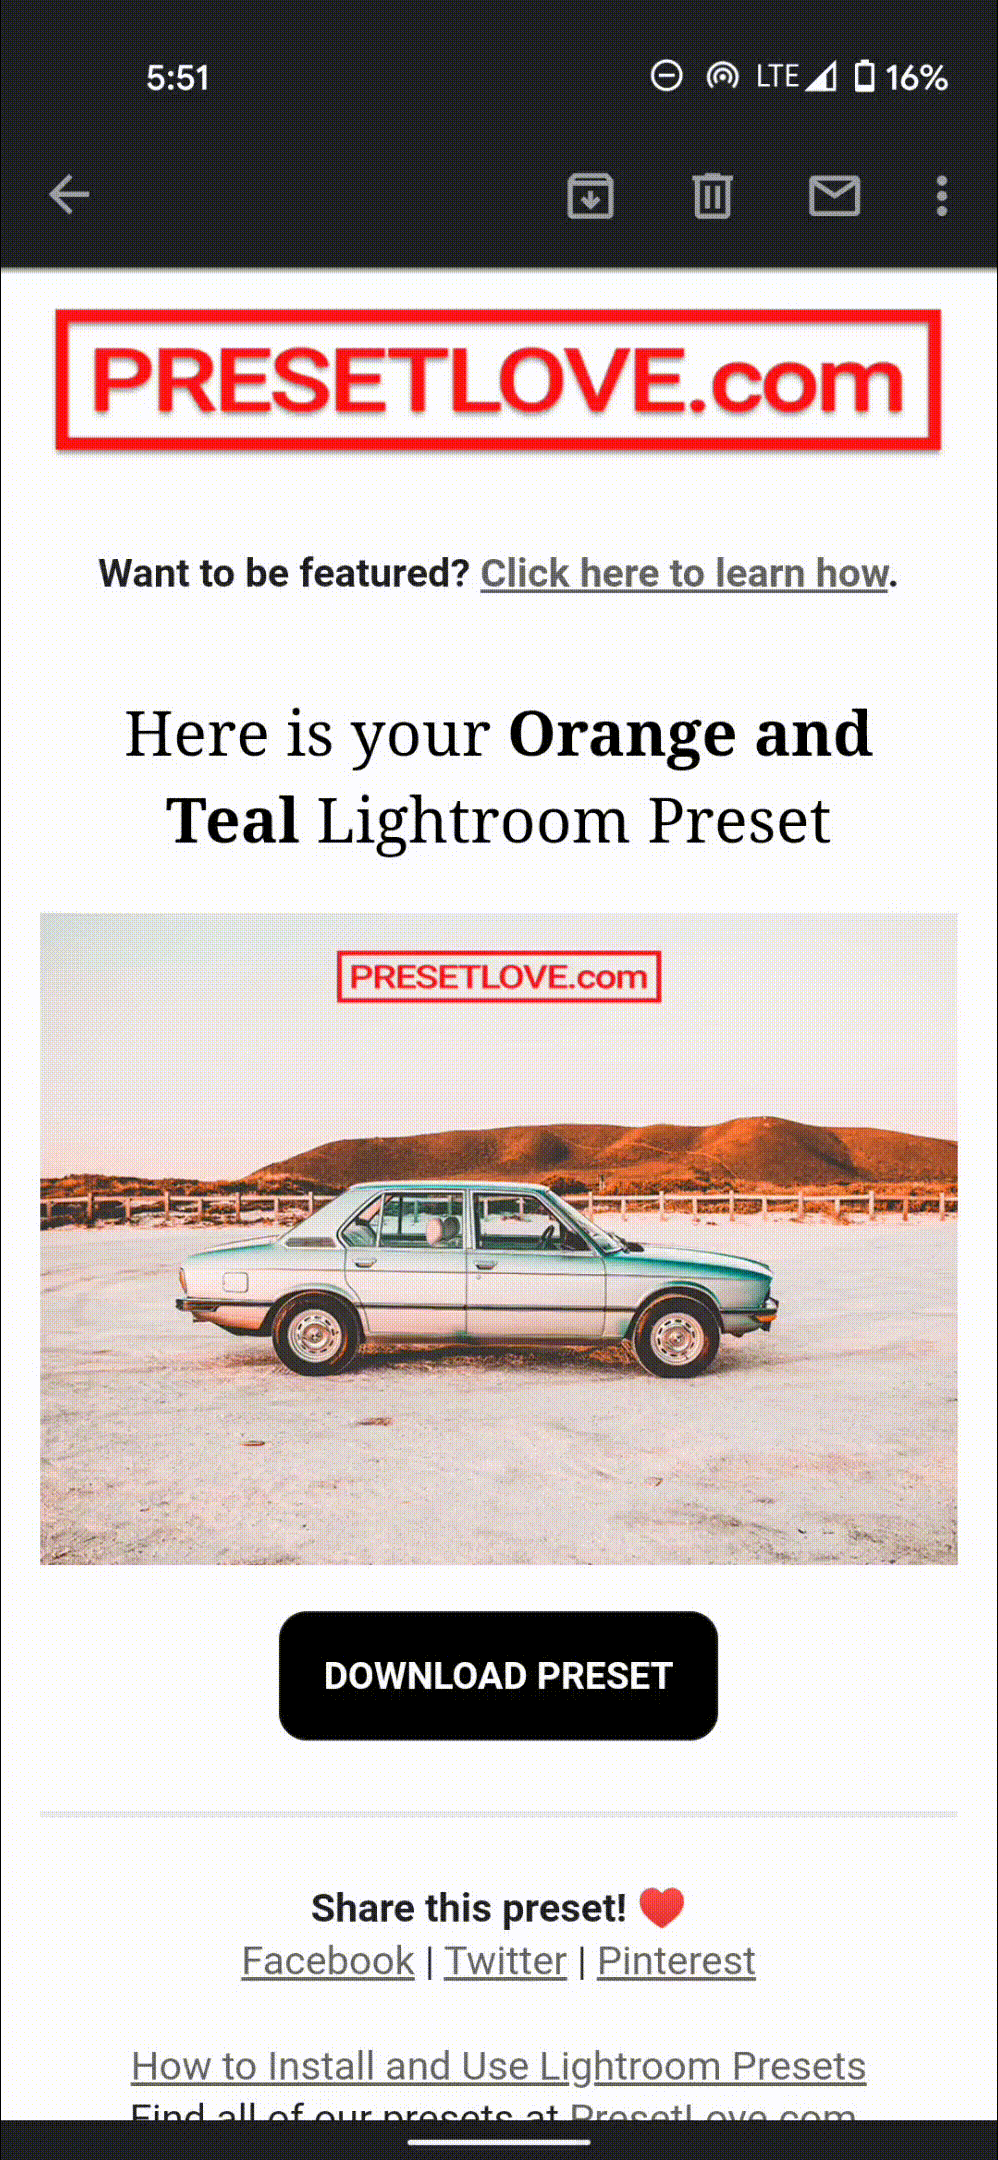
- Download the Preset from Email. Go to your email inbox and open the preset email you received. If you don’t see it, please check your spam folder. Tap on the Download button.
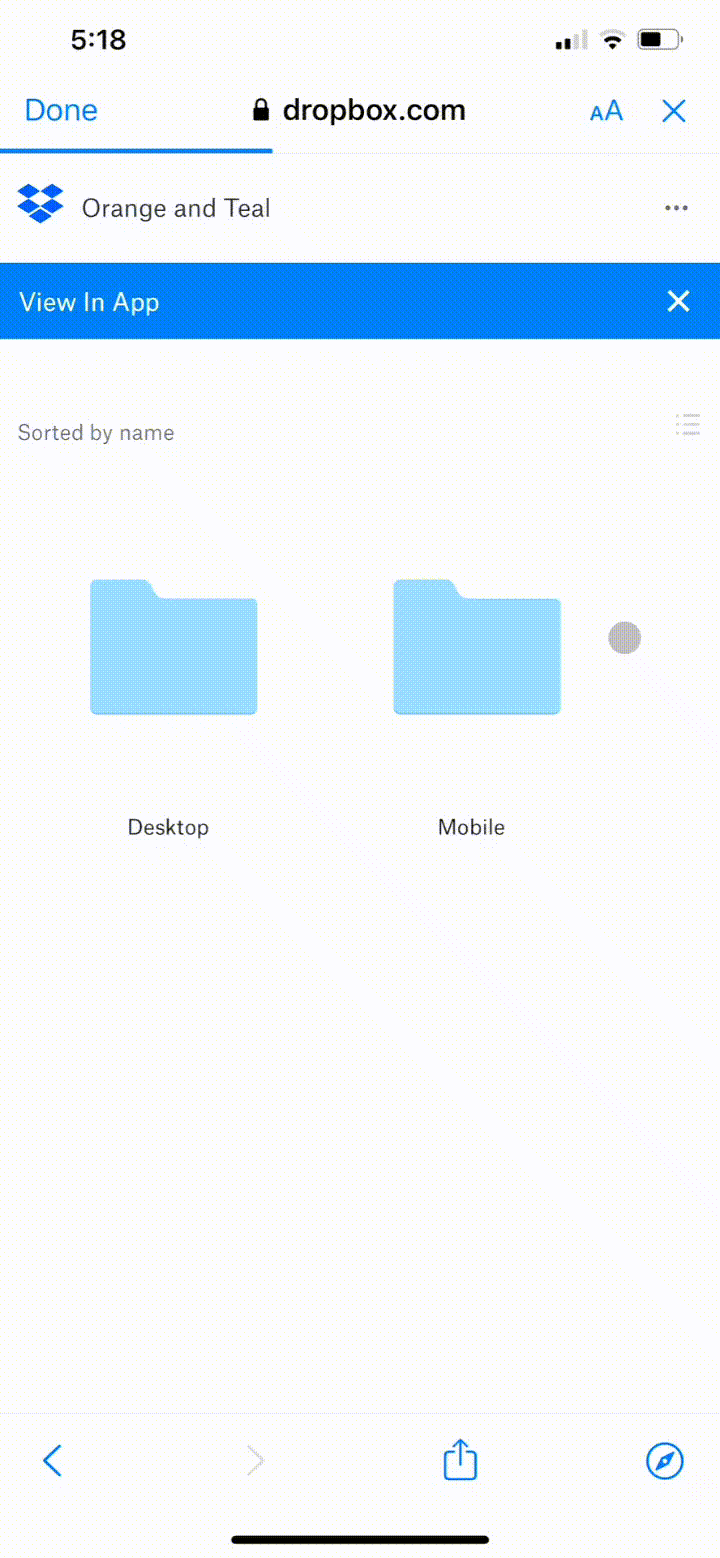
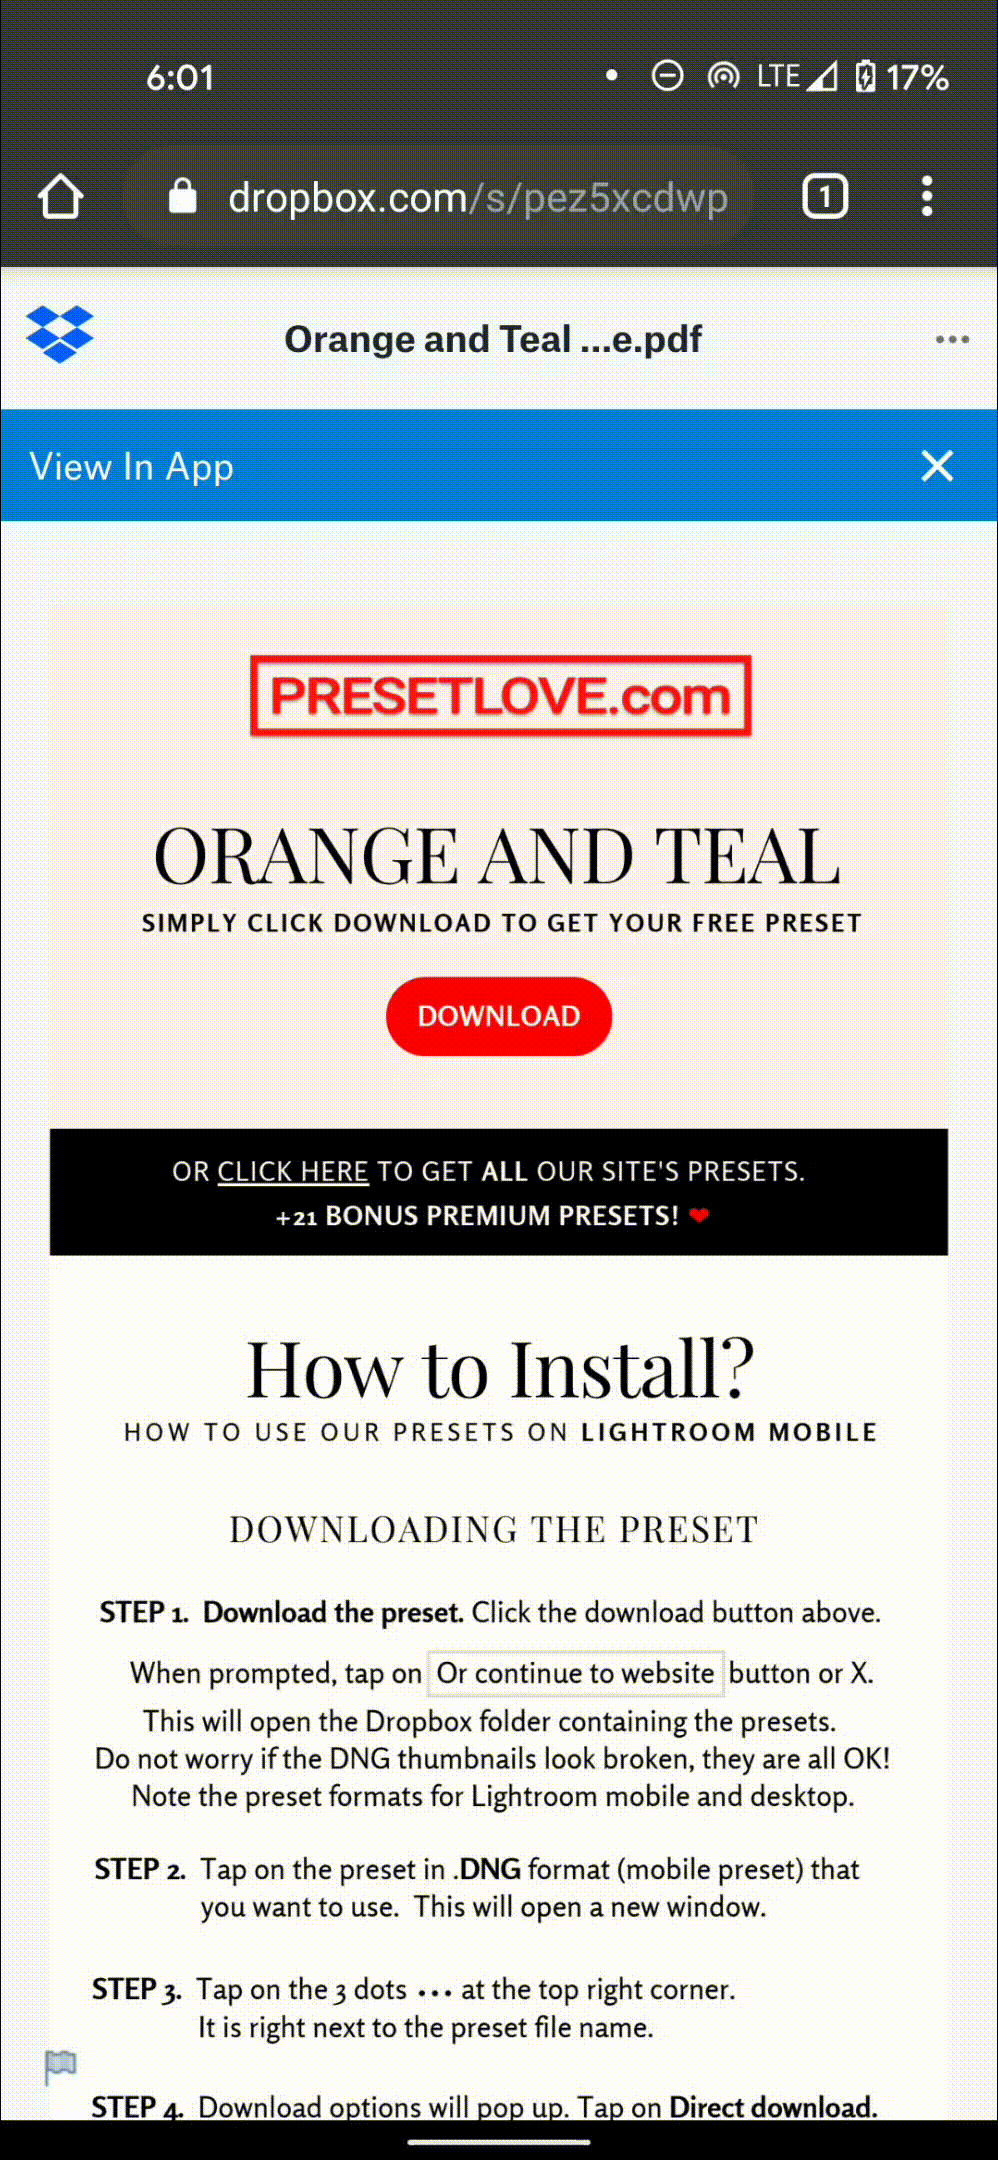
Note: You do not need a Dropbox app to download the preset. When prompted, you may choose not to get the app by clicking the X on the top-right corner or the “Or continue to website” button.
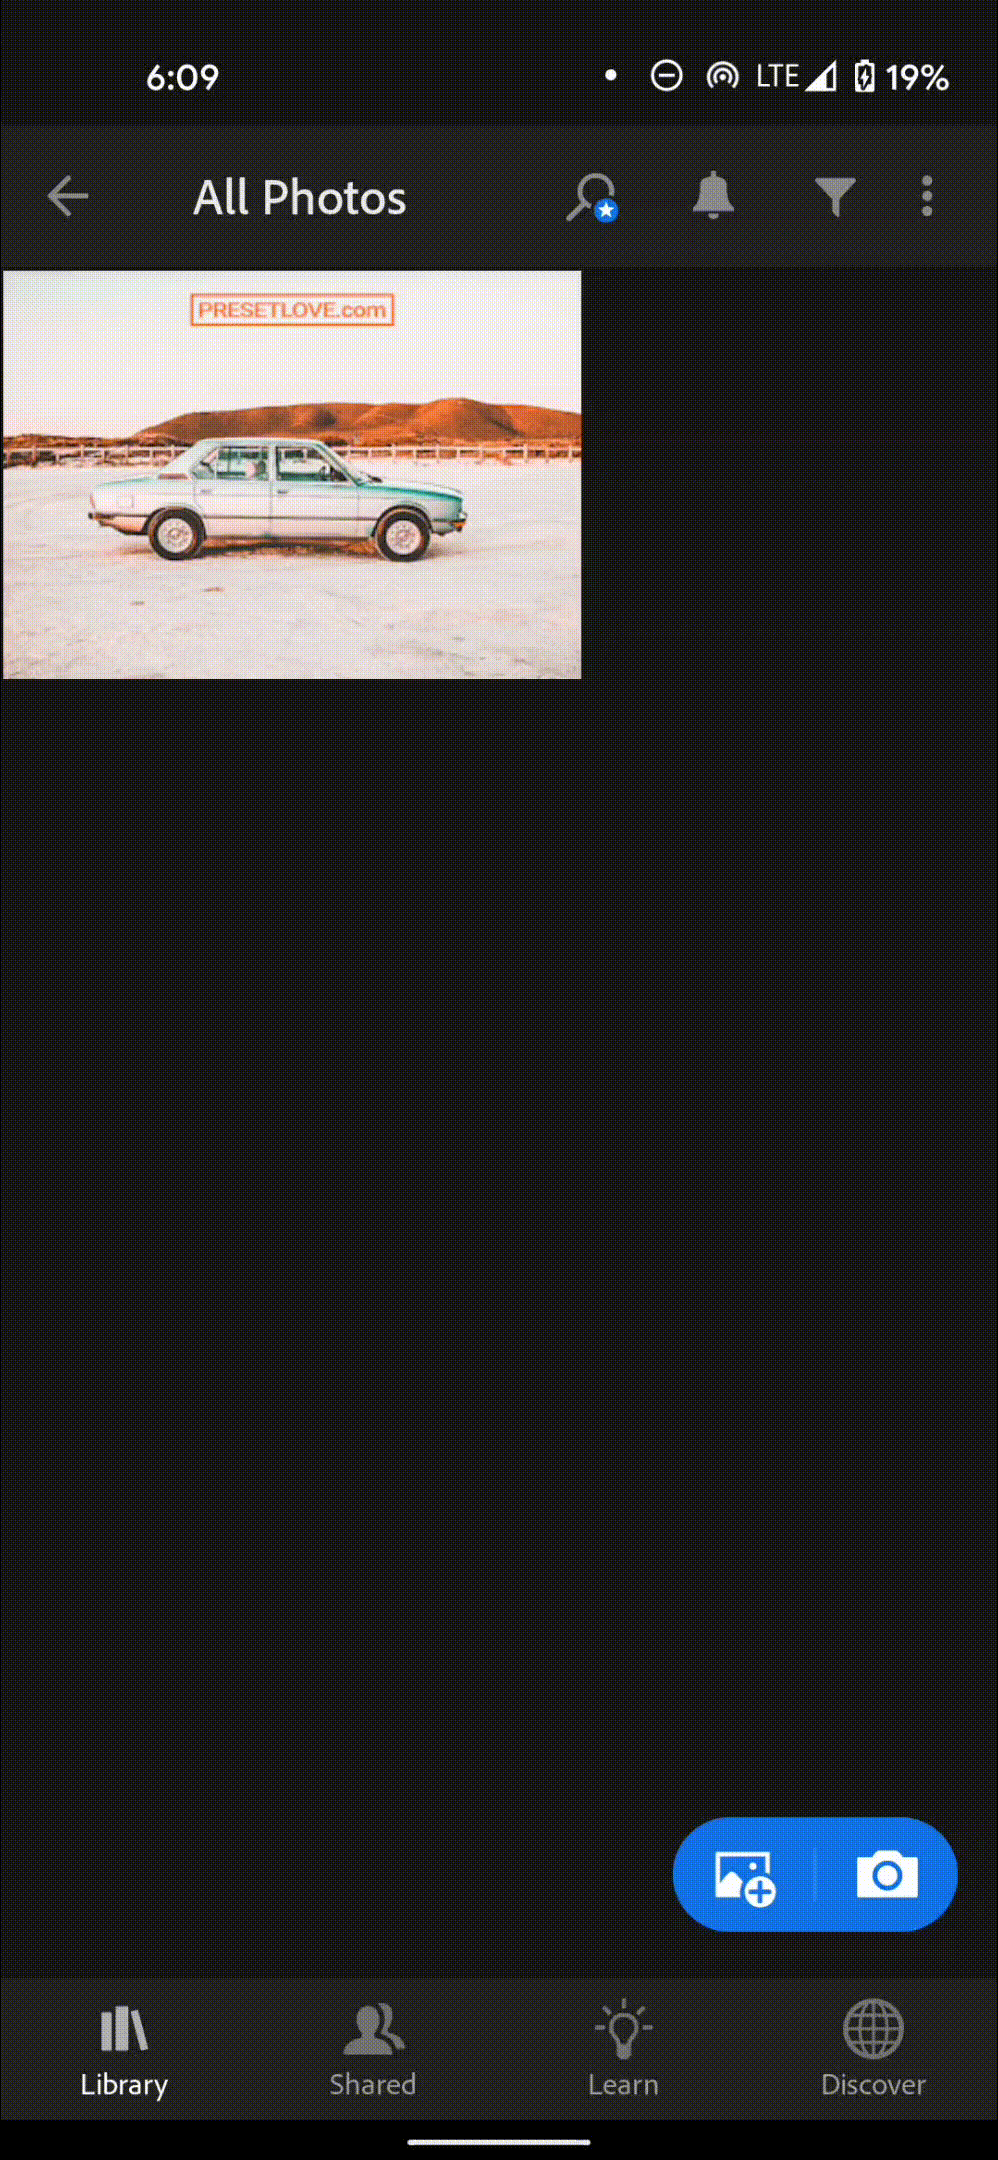
- Get DNG Preset Format from Dropbox. You should be redirected to the preset’s Dropbox folder. Click on the Mobile folder and tap on the DNG file thumbnail. Don’t worry if the image looks broken, you can still download it. Tap the 3-dot menu at the upper right and select Direct Download.
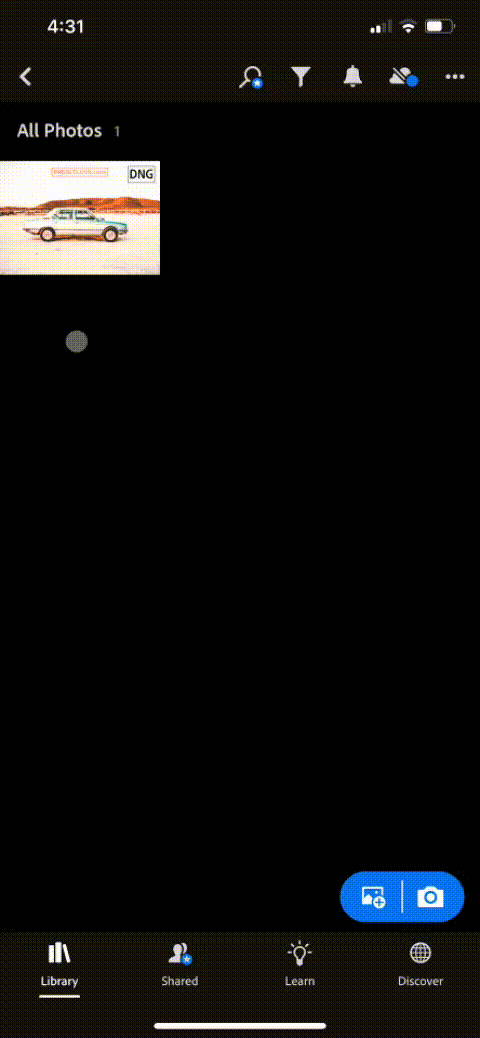
- Save the Preset. In Lightroom mobile, tap the DNG image to open it. Tap the three-dot menu at the top right corner and select “Create Preset”. Type the Preset Name you want and create a Preset Group Name (so it’s easy to find later).
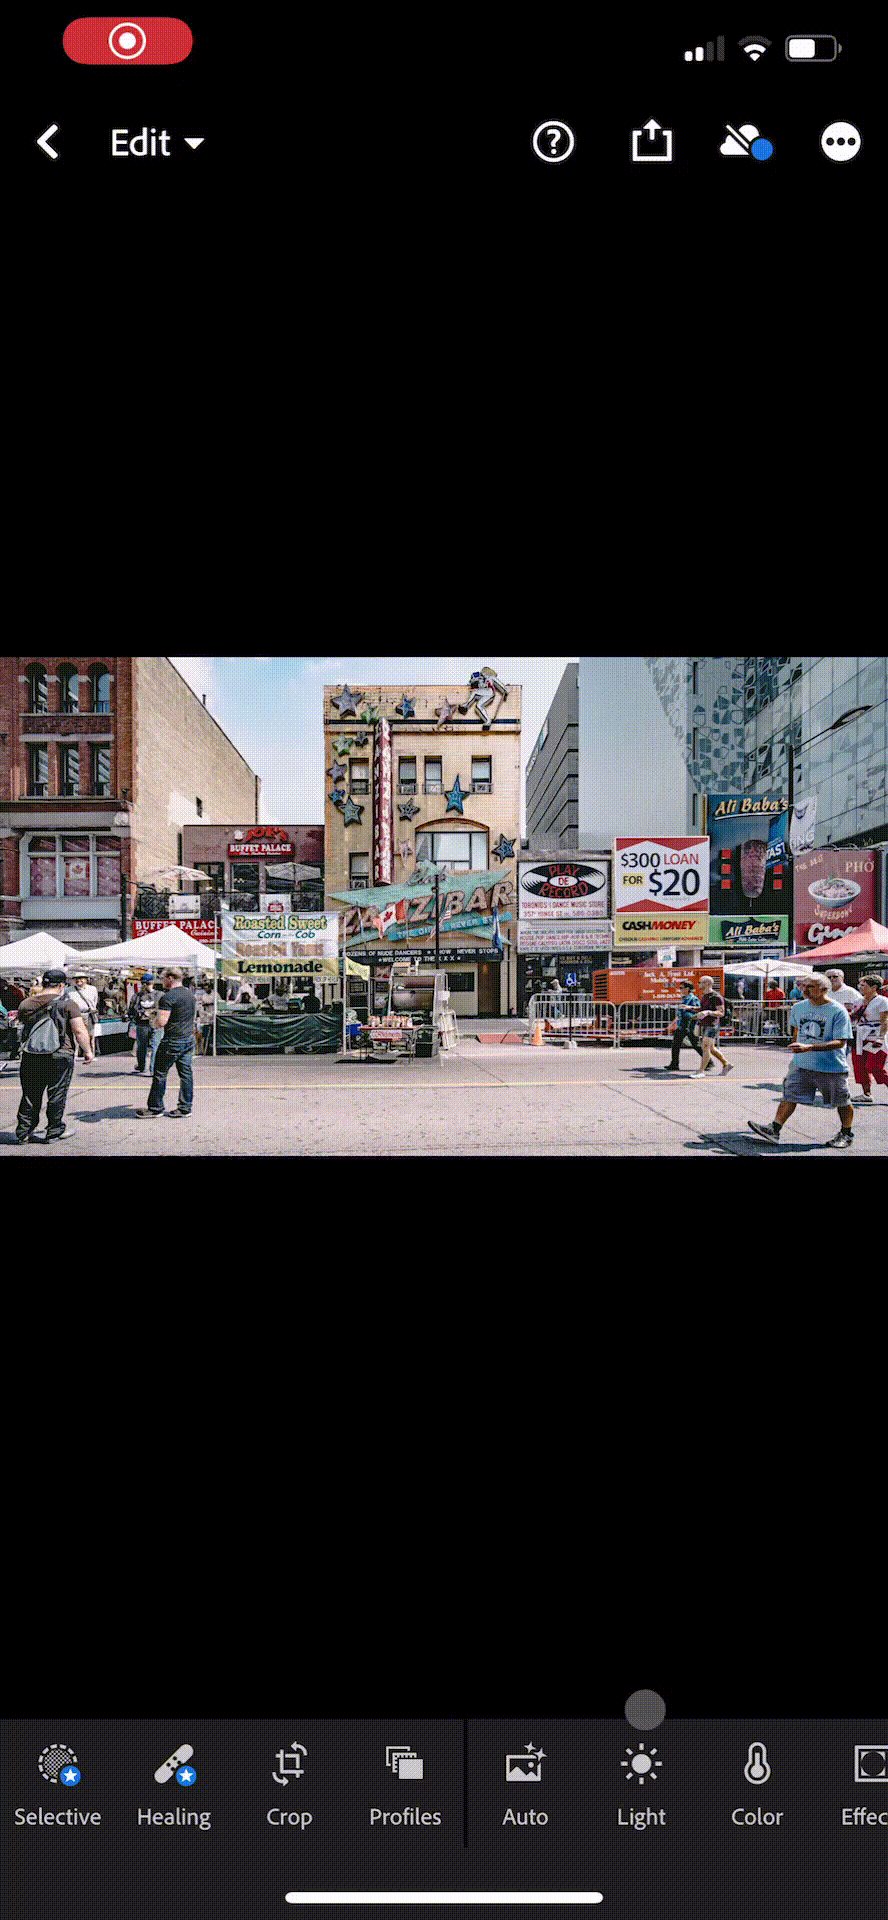
- Use the Mobile Preset. Open the photo you want to edit. Swipe the bottom toolbar to find the “Presets” tab and tap on it. Select the preset to apply it. Enjoy the new look!
Note: If you can’t find your preset, change the Preset Group Name at the upper left of the Presets menu.
How to Install Lightroom Presets on Android
Now that you have the Lightroom mobile app on your Android phone, let us show you how to add the presets. You can download and import the DNG file as you would any other image, but here’s the quickest way you can get it over to Lightroom:
- Select a Mobile Preset. Download one of our free Lightroom mobile presets. Once at the preset page, click the Download button and enter your primary email address. We will send the preset to your email.
- Download the Preset from Email. Go to your email inbox and open the preset email you received. If you don’t see it, please check your spam folder. Tap on the Download button.
Note: You do not need a Dropbox app to download the preset. When prompted, you may choose not to get the app by clicking the X on the top-right corner or the “Or continue to website” button.
- Get DNG Preset Format from Dropbox. You should be redirected to the preset’s Dropbox folder. Click on the Mobile folder and select the menu beside the DNG format. Tap on Export and select “Add to Lr”.
- Save the Preset. In Lightroom mobile, tap the DNG image to open it. Tap the three-dot menu at the top right corner and select “Create Preset”. Type the Preset Name you want and create a Preset Group Name (so it’s easy to find later).
- Use the Mobile Preset. Open the photo you want to edit. Swipe the bottom toolbar to find the “Presets” tab and tap on it. Select the preset to apply it. Enjoy the new look!
Note: If you can’t find your preset, change the Preset Group Name at the upper left of the Presets menu.

How to Use Presets on Lightroom Desktop
How to Install Presets on Lightroom Classic CC
- Download your Lightroom presets. For desktop, you can use either the .xmp or .lrtemplate format.
- Import and open your photo in Adobe Lightroom.
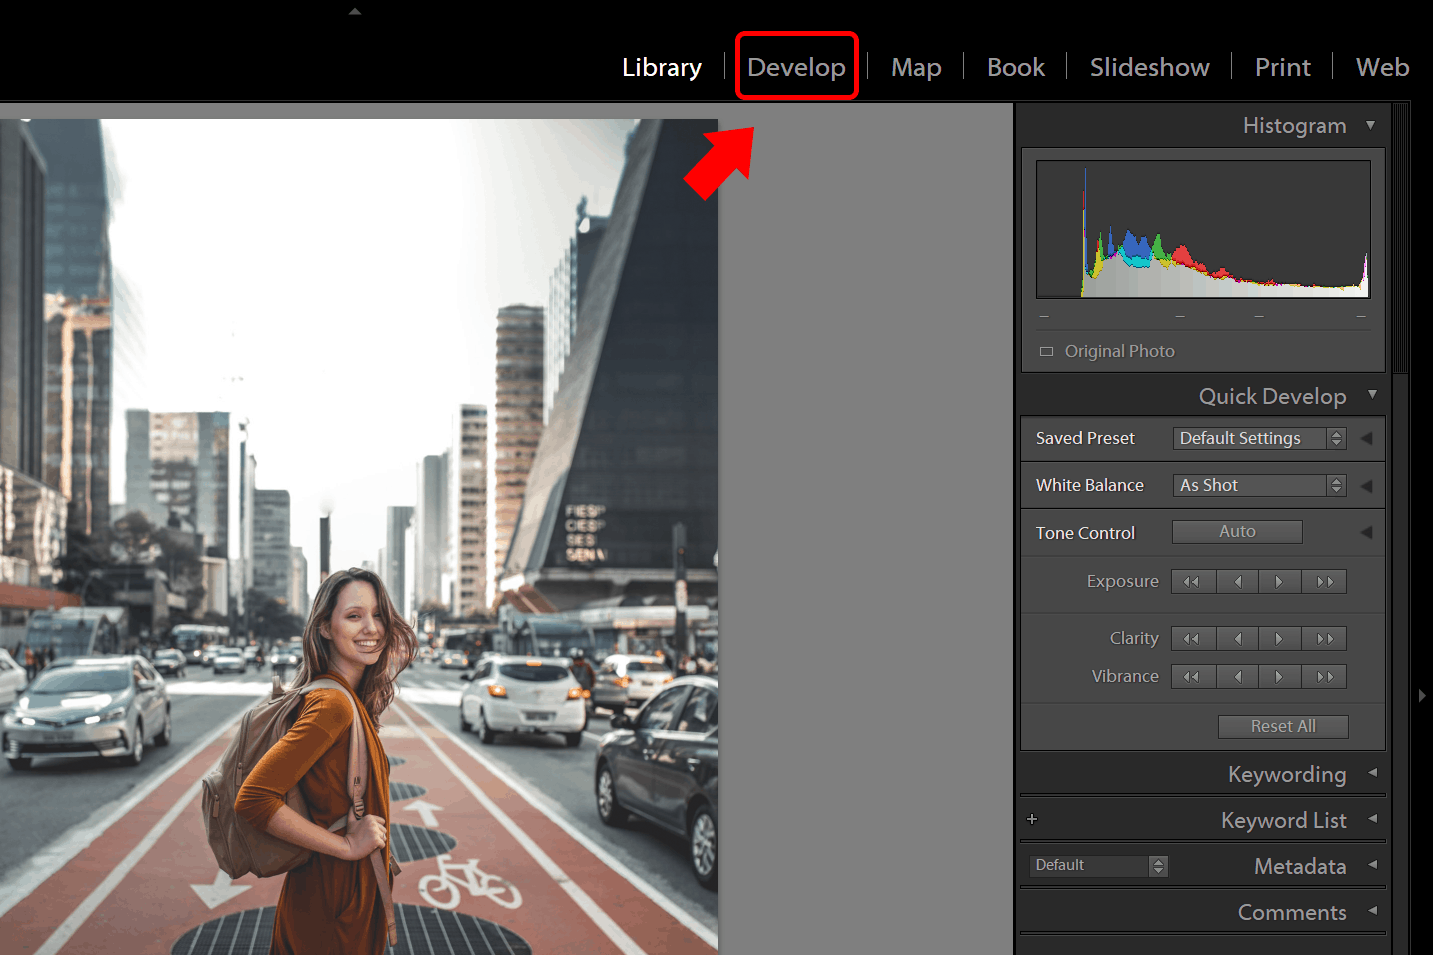
- Click Develop tab at the upper right.
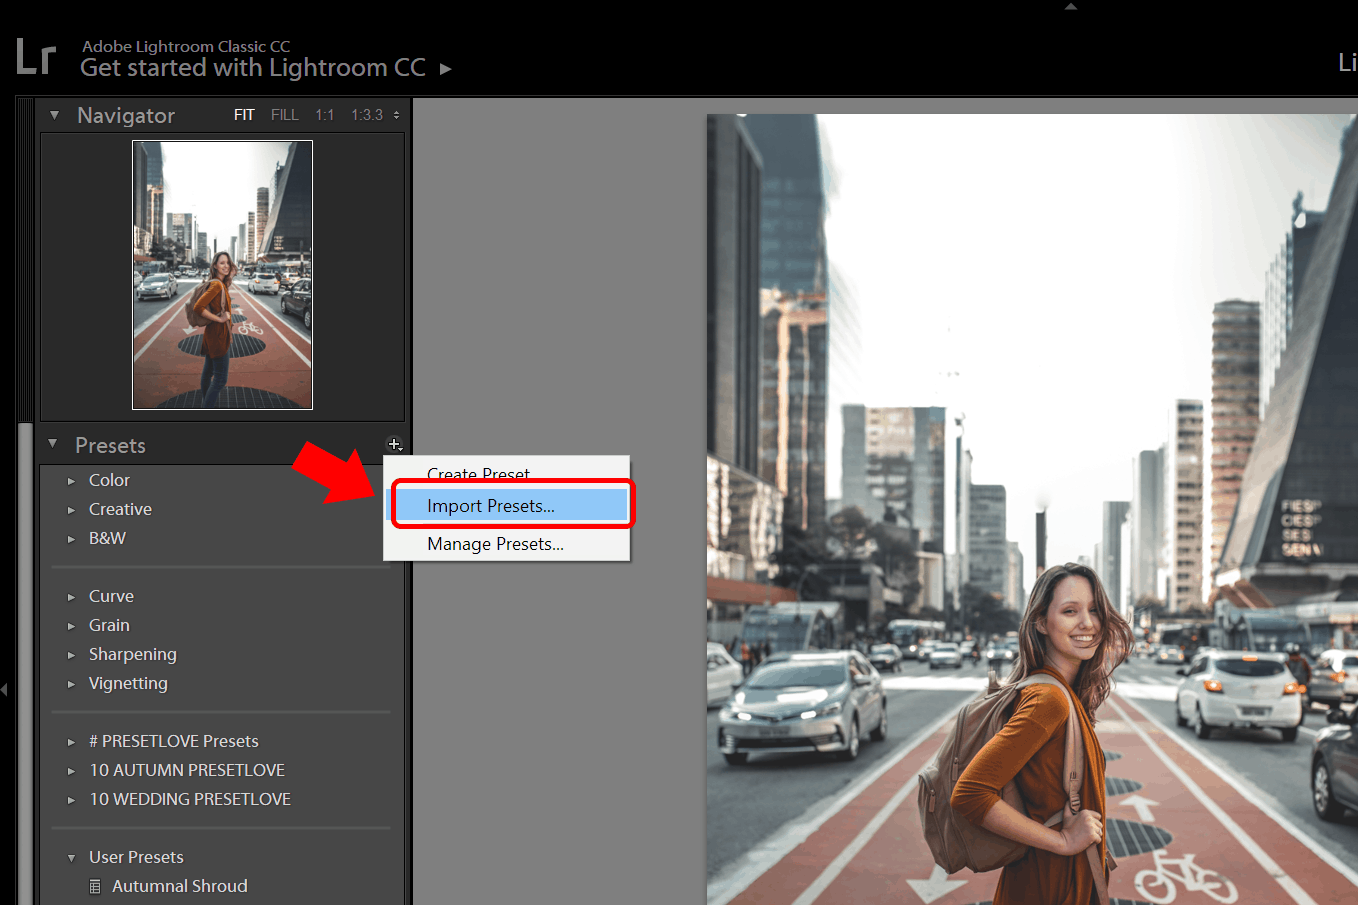
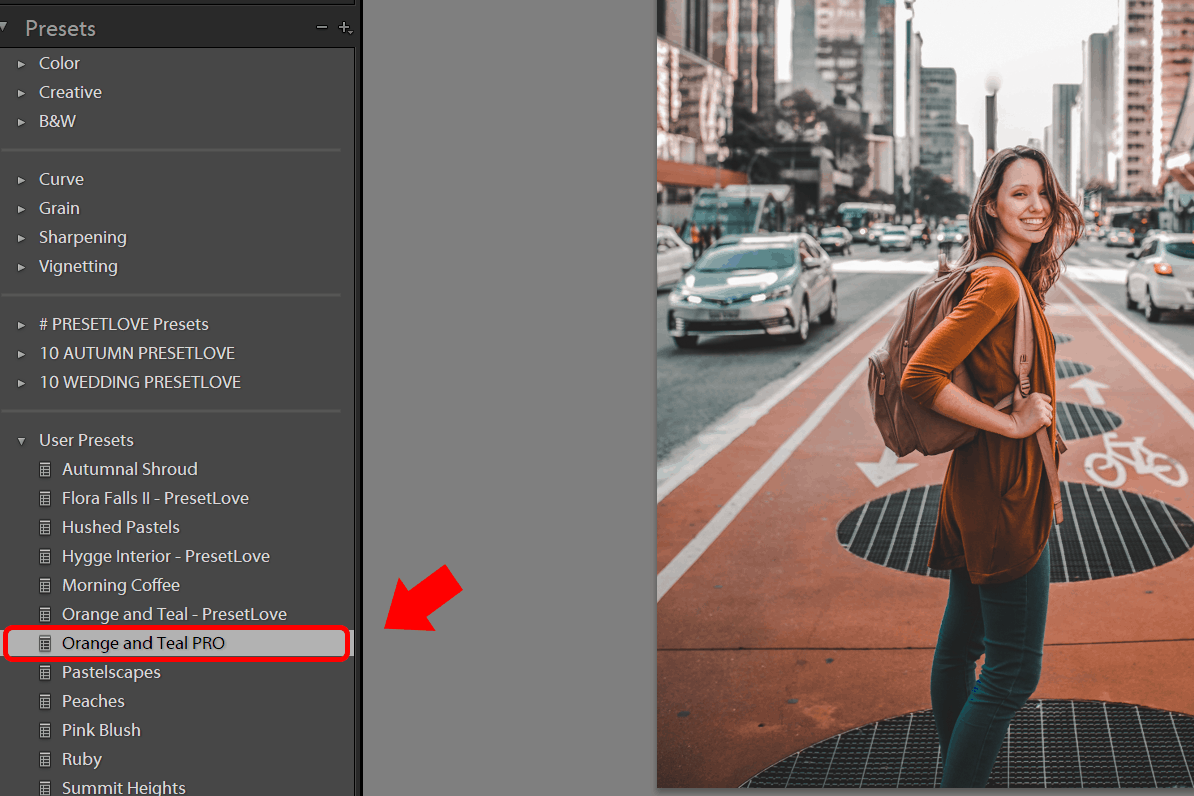
- You will see the Preset panel on the left. Click the + icon. Select Import Presets.
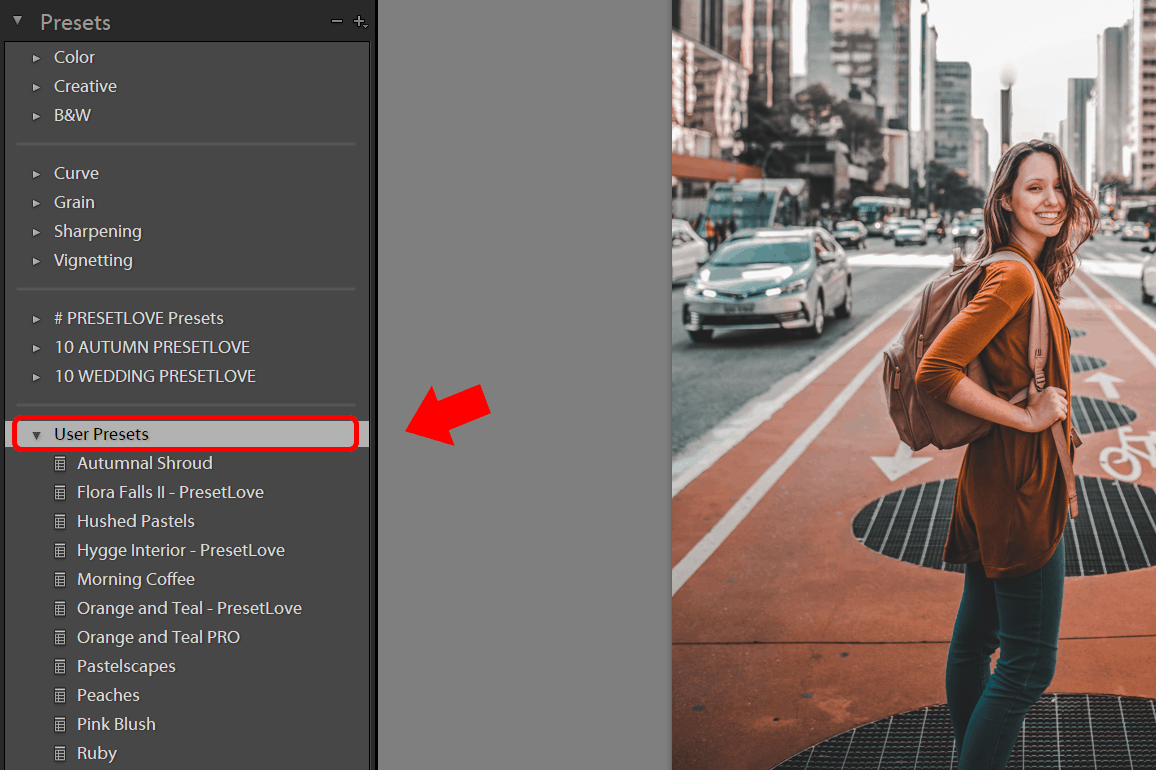
- Navigate to the preset you downloaded to apply it. It goes to User Presets by default.
- Select the preset. Enjoy!
If you want more presets to try, you can go download more at PresetLove.com.
How to Install Presets in Lightroom CC
- Download your Lightroom presets. For desktop, you can use either the .xmp or .lrtemplate format.
- Open Adobe Lightroom CC on your computer.
- Select File, then Import Profiles and Presets.
- Select the preset file (.lrtemplate or .xmp) then click Import.
- Open your photo. Click the edit icon on the right (or press E on your keyboard). Select the ‘Presets’ button at the bottom.
- Select to apply your downloaded preset.
Get Lightroom Presets
Get your free Lightroom presets at PresetLove. There are 300+ presets and counting. Download as many as you want! The more you can choose from, the better.
If you want to save time and get bonus premium presets, you can go download PresetLove’s Preset Bundle that contains all 300+ presets plus 21 premium presets. If you are looking to buy Lightroom presets, this is the best that you can get.

thank you very much this website. It is very helpful
thank you
very very help ful
Thank you for this…
love
thank you very much for sharing!
How install preset macbook pro? huhu For mac
Same instructions.