Brilliance is the free Lightroom preset to use if you want to brighten images and keep them looking natural. It produces clean and clear photos with rich and vivid colors.
This preset is versatile for any type of photography, whether shot indoors or outdoors. Its conservative yet complex settings work well from portraits to landscapes. You can, therefore, apply it to any of your existing pictures.
If you are looking for a filter that will distinctly enhance your shots without altering their elements, Brilliance is the one to go for. Keep it in your arsenal; this is the go-to preset for many shots that you will take. It looks great on prints and even your day-to-day uploads on Instagram.
Brightens and Gently Warms Images
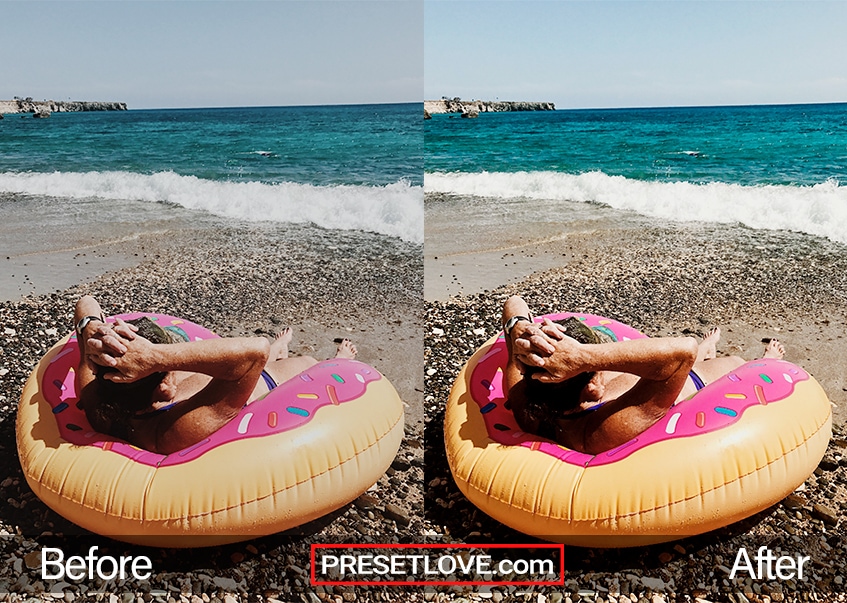
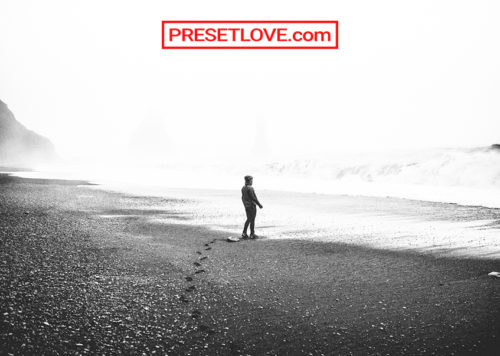
Sunlit. Brilliance preset first lights up the scene with a boost in exposure and a slight warming of color temperature. Its brightening always looks as natural as daylight.
Look at the example above. The effect looks great and ideal on this beach picture. It now looks as sunny as it should be. These settings serve as a base for the preset’s multitude of enhancements in tone and color.
Applies Balanced Adjustments in Tone
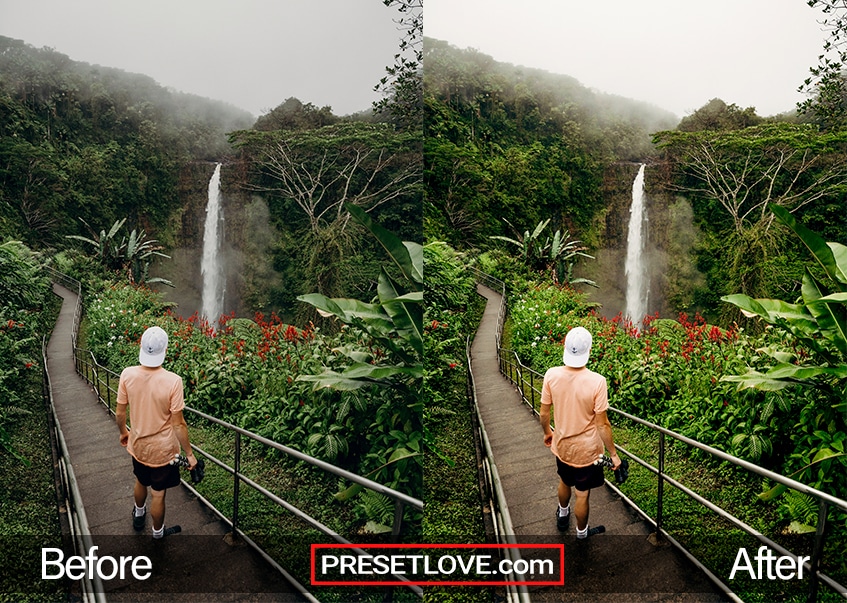
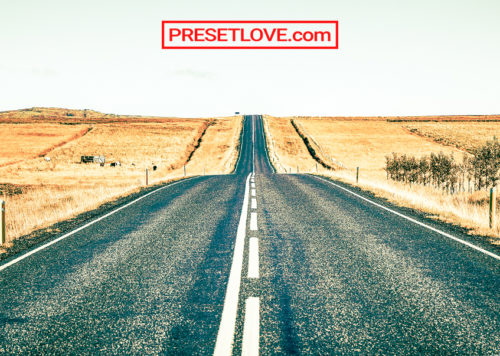
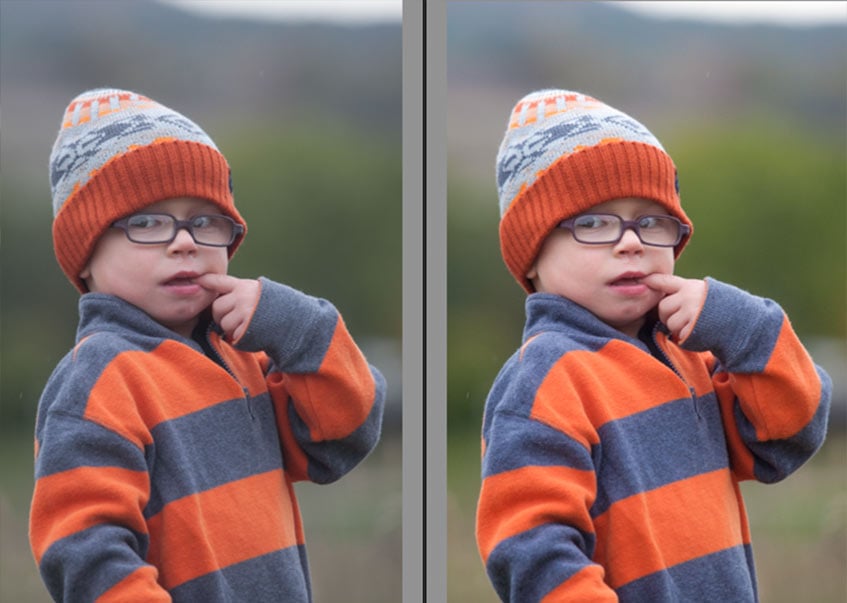
Illuminated Details. What makes Brilliance unique is that it does not simply boost the exposure and leave it at that. It produces bright yet rich tones. It preserves depth.
To create this effect, the preset amplifies highlights and a bit of shadow. These are complemented by a deepening of blacks and softening of whites.
Notice how the background elements look more illuminated in the above After photo. They retain their deep tones and look more defined. You can now appreciate more of the landscape details.
Crisp and Vivid Colors
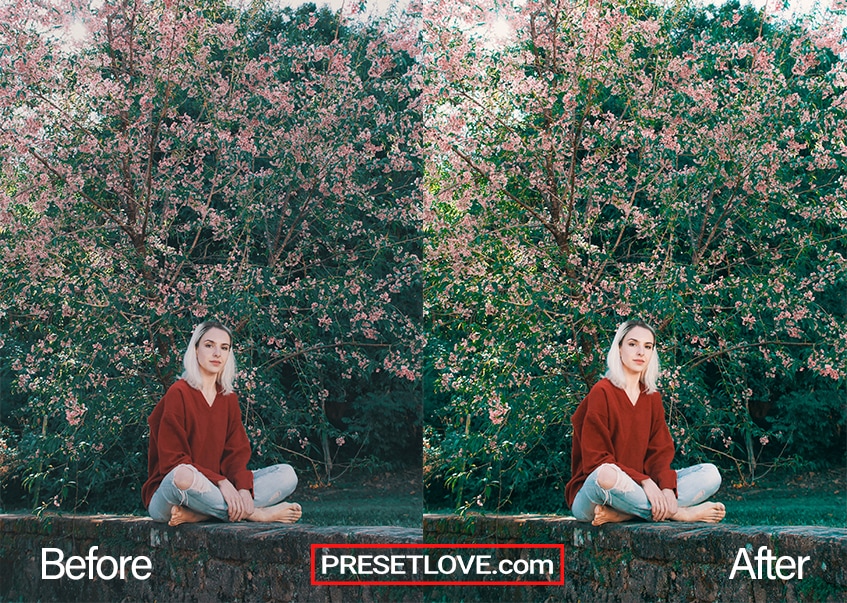
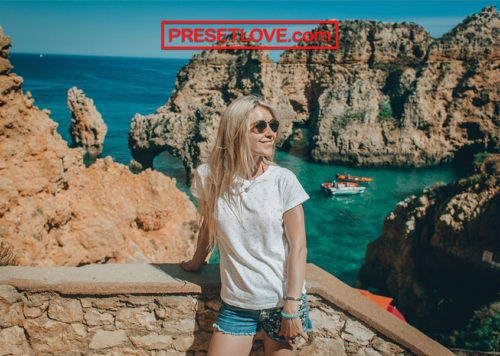
Colorful. This preset improves every aspect of color. It boosts the overall vibrance and saturation of some faded sections in the image. It also amplifies clarity; this gives you crisp midtones and a vivid look.
Try to examine the hue enhancements in the above After photo. The woman’s blouse now has deeper reds. Her skin tones look brighter and more complex, too. Direct your attention now to the background: the leaves look greener and simply more alive.
Undersaturates Warm Hues for a Natural Look
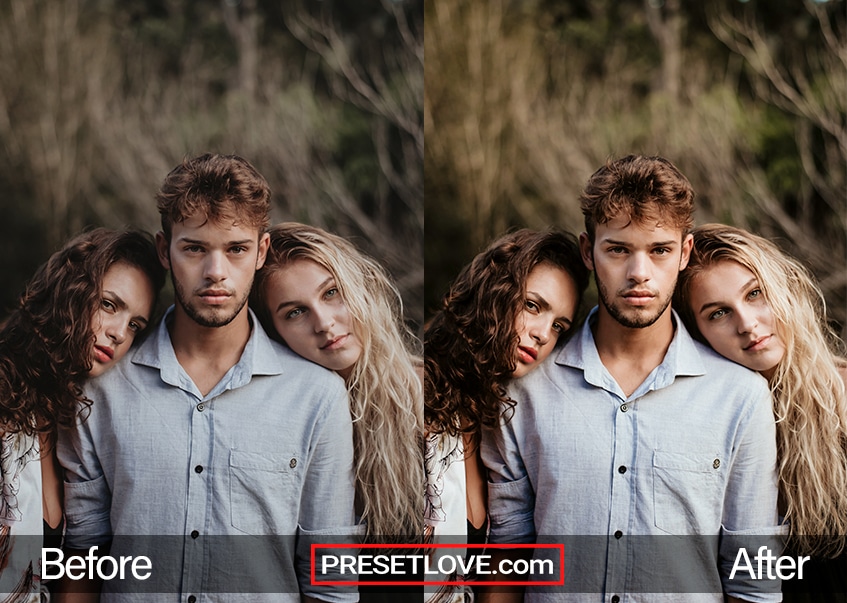
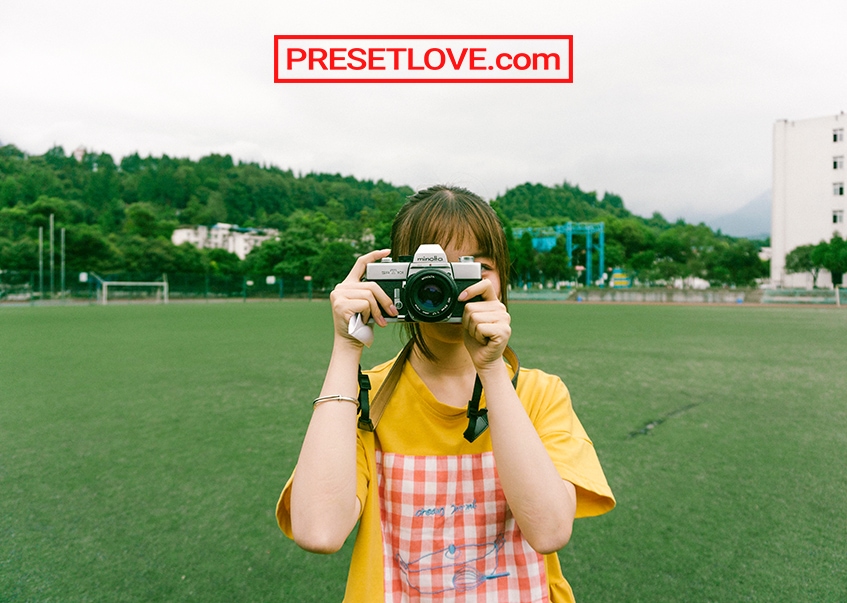
Soft Hues. Brilliance preset lowers the saturation of red, orange, and yellow colors. Adjusting these hues often means enhancing skin tones. With their moderate desaturation, they look more complex and smooth. You can examine the result by simply looking at the portrait above. The models’ skin now looks more evenly toned.
Combine this with the mentioned enhancements in tone and you get a vivid, captivating, image. See how the elements, all in all, seem to pop more.
Brilliance preset is for Lightroom Mobile, Desktop and…
Like all of our presets, you can absolutely use Brilliance preset as is, right out of the box. With any preset, you might need to make adjustments to accommodate your specific camera, settings, lighting, and subject matter.
- Entirely Adjustable
- Compatible with Lightroom 4, 5, 6 and CC
- Performs with both PC, Mac, and Mobile
- Applicable to both RAW and JPG images
- 100% Free
Free Lightroom Preset by Silky Presets